If You're Doing It Yourself
What Is the Trick to Painting Ceilings? 10 Tips From a Pro That Does It Daily
1. Use Flat Ceiling Paint
Paint made for ceilings is thicker than wall paint, so it's less likely to drip on you while you work. Choose a flat finish, because it hides small dents and seams. A shinier finish like eggshell or satin does the opposite: when sunlight comes in from the side, it highlights every roller mark. Tip: some ceiling paints go on pink or purple and dry white, so you can easily see where you’ve already painted.
2. Prime Stains Before Painting
Water stains, smoke, and soot from a fireplace or candles will show right through regular paint, no matter how many coats you add. Cover each stain with a stain-blocking primer first and let it dry. It's a quick step, and skipping it usually means the stain is back within a few weeks.
3. Paint the Ceiling Before the Walls
Always start at the top, since any drips or spatter from the ceiling will land on the walls below. Once the ceiling is dry, paint the walls. This order also makes the line where the ceiling meets the walls easier to get clean and straight, because you're painting that edge from the wall side.
4. Brush the Edges as You Go
A roller can't reach right up to the walls or around light fixtures, so painters use a brush there first. This is called cutting in. Brush a strip about 2 to 3 inches wide along the edge, but only for the section you're about to roll, then roll that section right away. If you brush the whole room first, the edges dry before you get to them, and you'll see a darker frame around the ceiling.
5. Keep the Paint Wet to Avoid Streaks
If you only remember one tip, make it this one. Paint the ceiling in small sections, about 4 feet by 4 feet, and start each new section while the last one is still wet, overlapping the two slightly. When you roll over paint that has started to dry, it leaves a visible stripe. In hot inland homes in Santee, El Cajon, or Escondido, ceiling paint can start drying within minutes in summer. To give yourself more time, paint in the cooler morning, close the windows, and turn off any fans blowing on the ceiling.
6. Finish Each Section in the Same Direction
Start by rolling the paint on in a zigzag so it spreads evenly. Then, before moving on, go over that section with a few light, straight strokes, all in the same direction. Point those final strokes toward the room's main window. Rollers leave a faint texture, and when it runs the same way as the light coming in, it blends in instead of standing out.
7. Use the Right Roller and a Light Touch
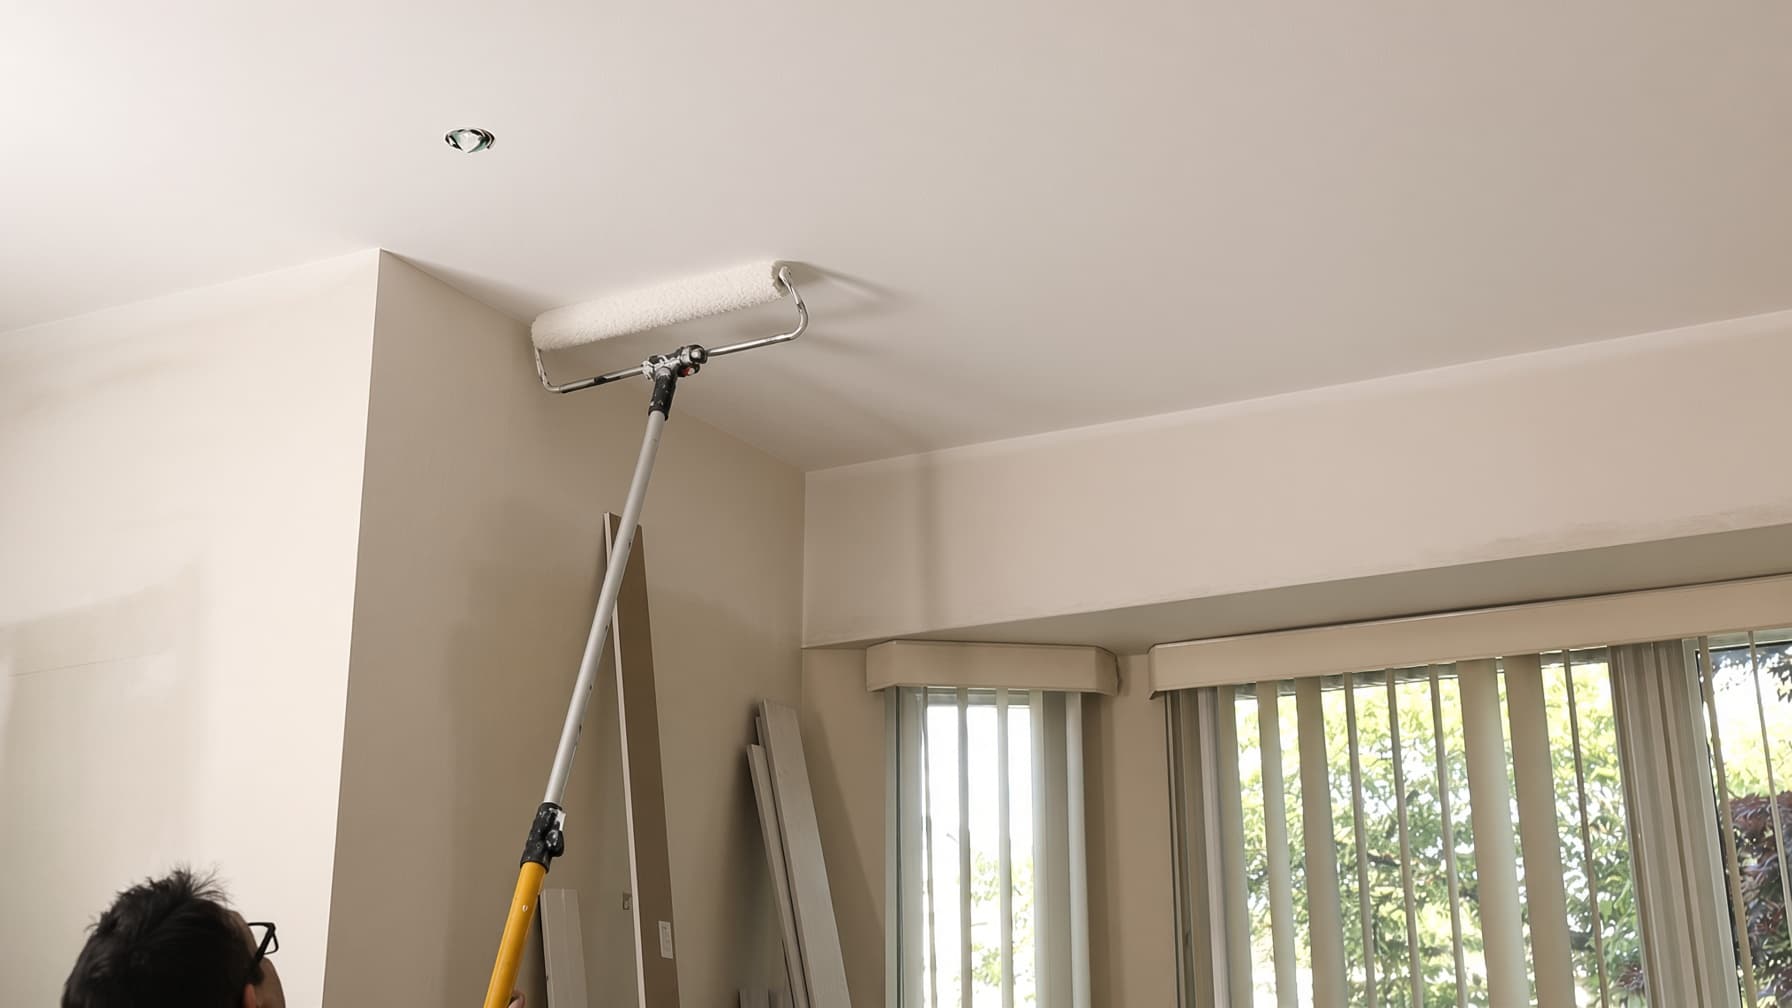
Rollers come with different thicknesses of fuzzy cover, called the nap. For a smooth ceiling, use a 3/8 inch nap. For textured ceilings like knockdown or orange peel, use a thicker 1/2 to 3/4 inch nap so the paint reaches into every bump. Dip the roller until it's fully loaded, roll off the extra in the tray, and let the roller do the work. Pressing hard squeezes paint out the sides and leaves ridges.
8. Use an Extension Pole Instead of a Ladder
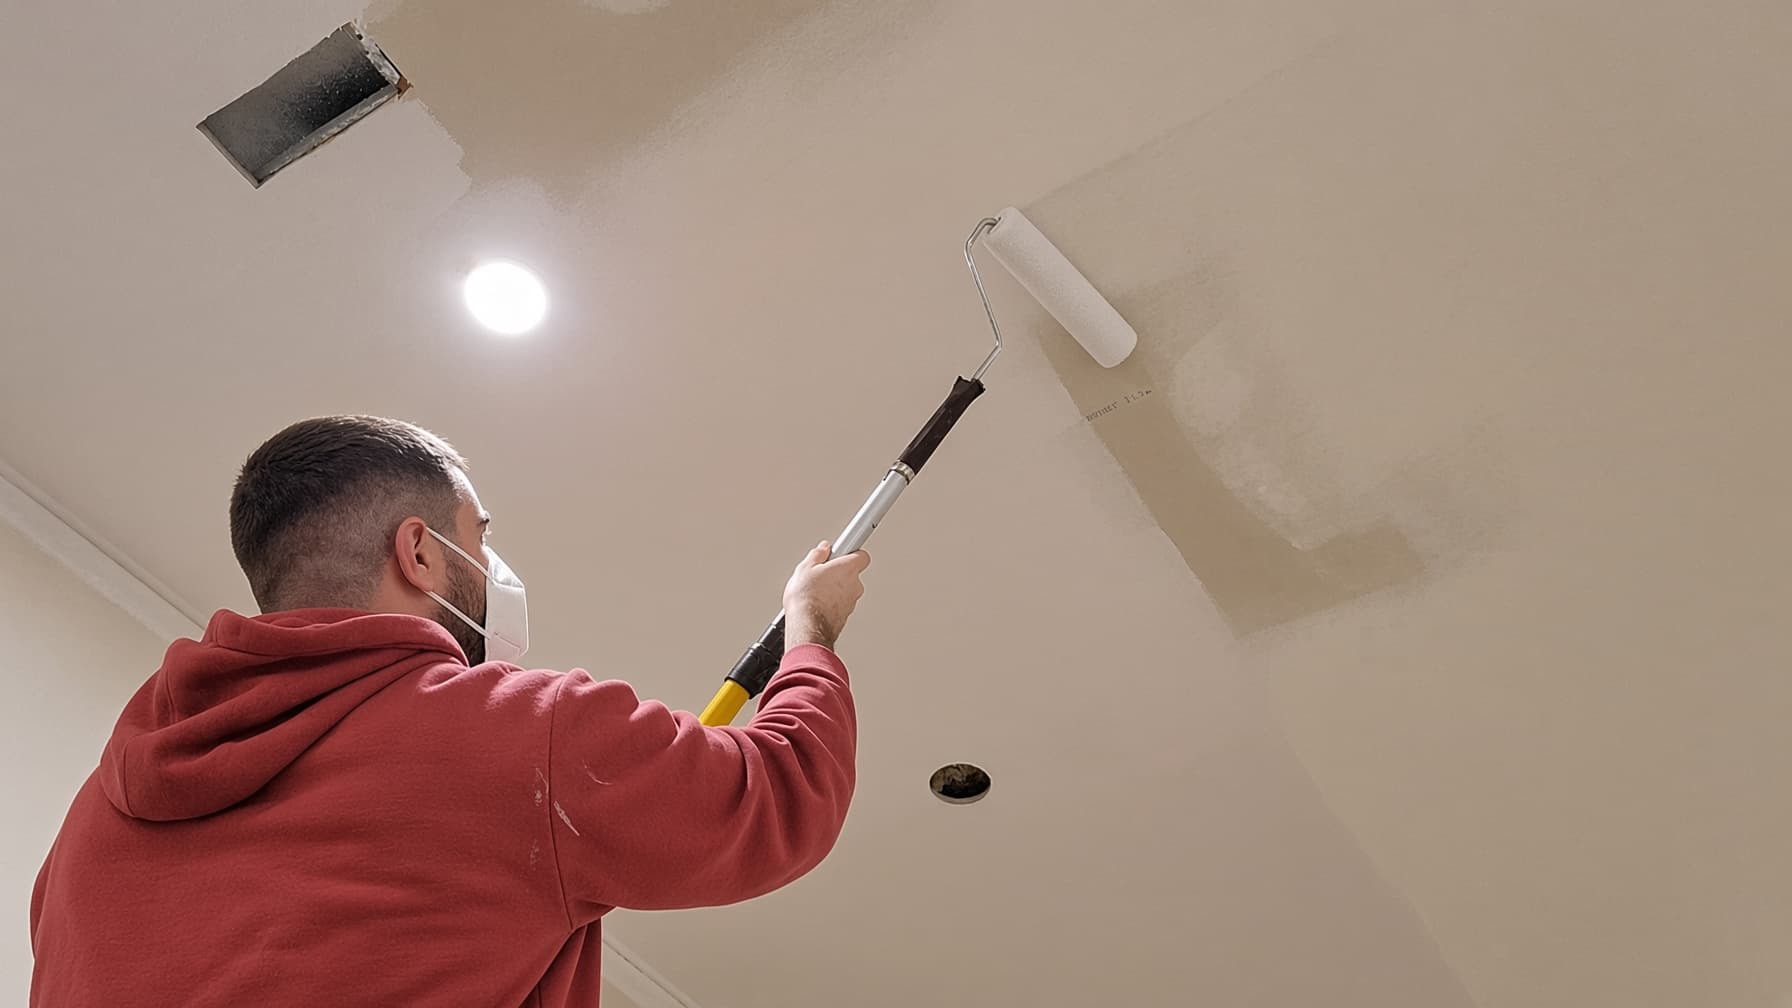
A pole gives you even pressure and keeps your feet safely on the floor. You'll also move faster, which makes it easier to keep a wet edge. Your neck and shoulders will thank you!
9. Apply Two Thin Coats
It's tempting to put on one thick coat and call it done, but thick paint on a ceiling tends to drip and still dries patchy. Two thinner coats give you a smooth, even finish. Let the first coat dry completely before starting the second. If you live near the coast, give it extra time on gray May and June mornings, since the damp air slows drying even when the paint feels dry to the touch.
10. Check for Missed Spots With a Flashlight
When you're done, hold a flashlight flat against the ceiling and shine it across the surface. It shows missed spots and roller lines the same way late afternoon sun will. It's easier to fix them while your paint is still open.
If you'd rather skip the ladder work, or the ceiling is high, stained, or textured, we're happy to take it off your hands. Call (619) 825-1802 for a free estimate.
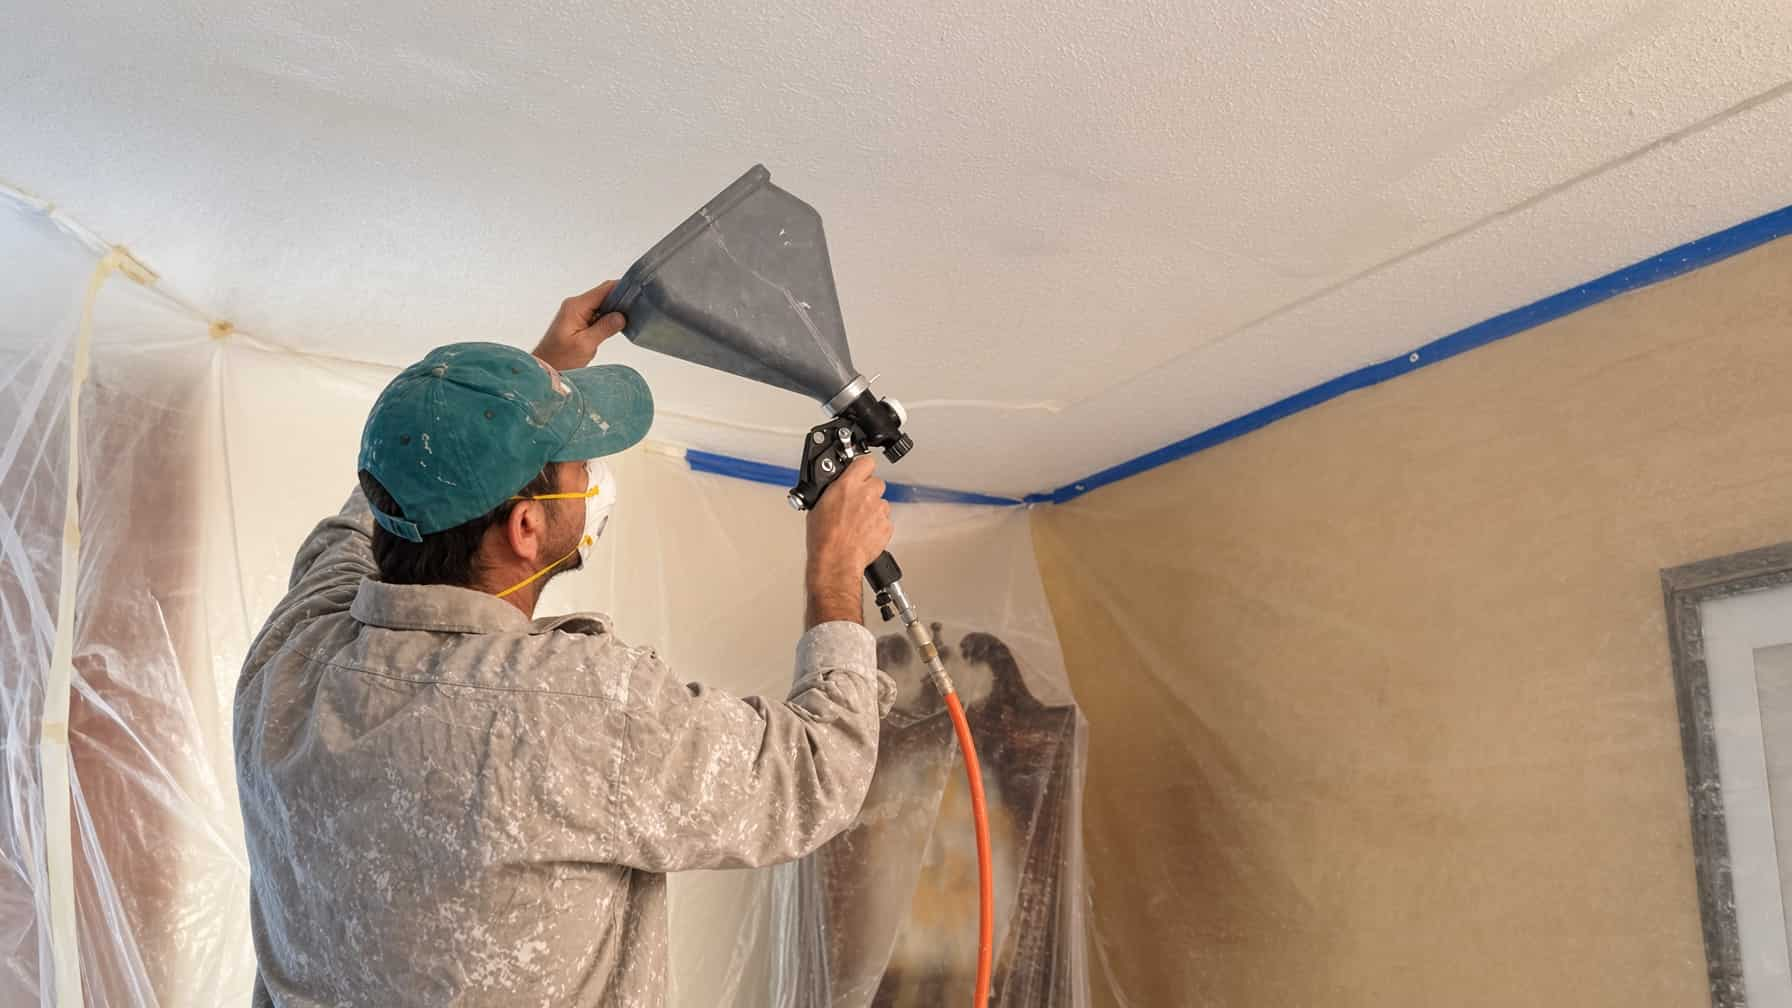
Don't roll a popcorn ceiling. A roller soaks the texture and pulls it off the ceiling in chunks. Popcorn needs to be sprayed.